
Well anyone who knows me will appreciate that I could relay a mountain of information very quickly as I possess the gift of the gab! As my typing skills cannot keep up with my mouth this will take a while longer!
So here goes:
We have been so busy of late with the commencement of phase three works. This means that all the contents of the rooms which fall into this phase need to be decanted. These rooms are mostly situated in the area of the house which is the oldest dating from 1804 and jam packed full of artefacts as those who come on tours will know.
Our role at this stage is packaging and protection, and boy Lauren, our new conservator has us on our toes! Just in case this sounds like a gripe, it’s not! Everyone knows Lauren is doing a tremendous job which I for one find amazing that she is able to organise so much stuff in such a short time in such a brilliant way.
Pitch pine stash!
I never was as glad to hear Joe Heaney our Senior Building Surveyor say that he had some timber at the Argory which had been there for some time and I should take a look at it to ascertain if it’s of any use. Well I did just that and when I clapped eyes on the timber a big smile came to my face when I seen this…
I know I know, I am a sad individual getting all excited over a pile of wood but normally costing £30-60 pounds per cubic ft and this lot being all free you would be excited too!
Pitch pine simply put is the most beautiful wood I know! Yes there are other species which are stunning but pitch pine has that extra dimension that other species just don’t have. The reasons following are why I love it.
- Colour
- Density
- Longevity
- Stability
- Sizes available
- Workability
It is generally accepted that Oak is one of the most durable timber species on earth. Well I once repaired sash windows in a house which was built in 1764 and had an Oak sill with Pitch pine styles. Now here’s the thing, both species had rotted at the same rate! Both species had the same environment and the same number of coats of paint and yet the pitch pine was lasting every bit as long as Oak.
A few photos of the joists being machined for the manufacture of a replacement window, I will keep a few photos of the window being assembled and when it’s being fitted.
Patrick has been working away repairing a rotten meeting rail belonging to a curved sash window. Being curved it makes things that bit more complicated as the original window was made by hand which results in the curves not all being the same and not regular.
The piece of Oak Patrick is working with displays some amazing characteristics called medullary rays. This type of grain is only seen when the timber is cut in a particular way namely quarter sawn.
Stair access needed!
To anyone who is going to be at Mount Stewart any time soon they will see a funny shaped structure attached to the house on the east side. This is a stair case built to provide access to and from the phase three rooms as the contractors access is at the other end of the house.
I should point out that these stairs were built by H&J Martin’s joiners and they did a cracking job.
One of the many tasks Lauren so graciously gives us!
The carpets which dwelt until recently in the phase three rooms have all been lifted and shifted!
As many of you know Carpets can be very heavy so we employed the use of a buggy fixed together.
Oh just one more!
The display cabinets in the central hall have some fine china on display. Lauren asked us to build a few shelves in the cabinets so she could store more china. Lauren has the problem of loads of stuff to store and no where to store it! It’s hard to believe that this house being so big has no storage. It truly is amazing to watch her organise and fit things into seemingly impossible places!
All this praise is bound to warrant a big bag of Haribo Super Mix?
Window Repairs
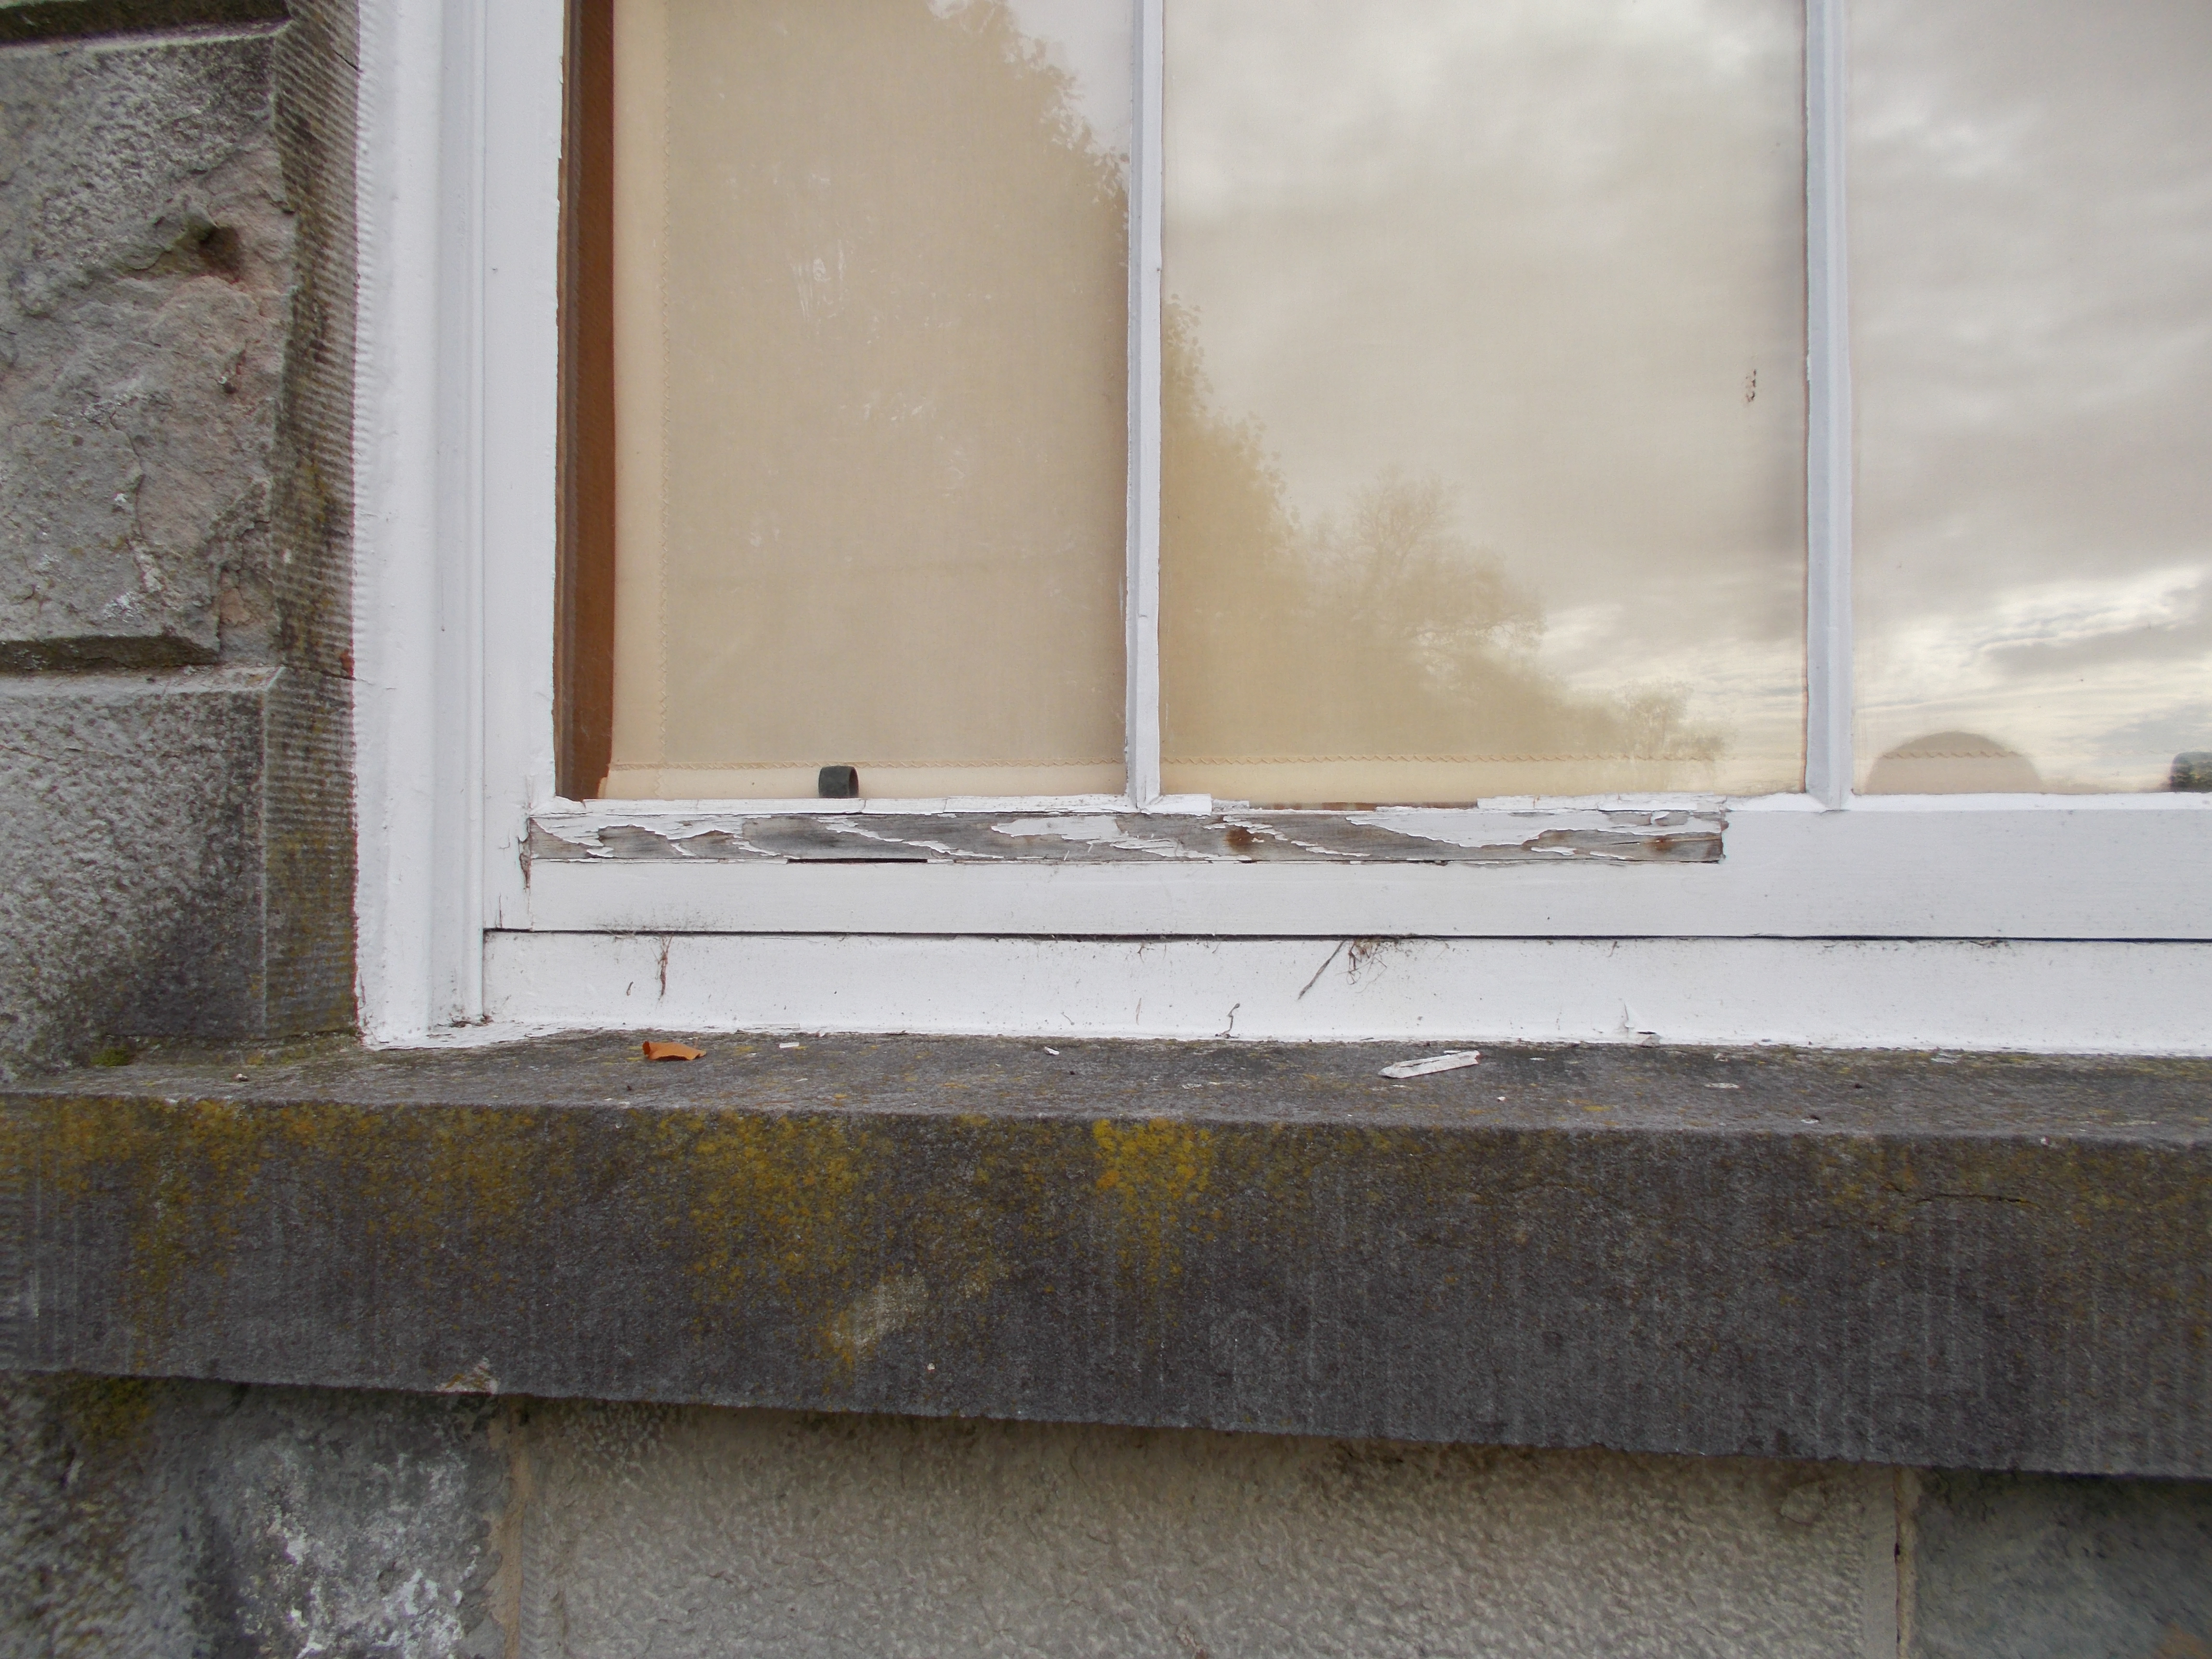
The windows which we removed from Lady Londonderry’s sitting room have proved to be rather challenging in that they are curved and have some rather unusual sections of rot.
The area of a window which usually rots is along the bottom where it is in contact with the stone sill, but in this case it was along the inside and top of the bottom rail. This was due to the presence of sap wood which is not as durable as hard wood.
The repairs of the above mentioned windows can be very tedious as the rot needs to be completely removed. The timber used to repair the rotten sections needs to be carefully selected. Also an adequate size of timber needs to be removed as a small section of repair will move with the seasons and cause the paint to crack thus allowing water in to the joint.
This is a window repair in another property
A brief explanation about this repair
You will notice that the area which is to be repaired has been painted grey. This is aluminium wood primer and is the best paint to use to prime any timber which will be used externally.
The reason to paint the area rather than glue it is as follows:
- Glue won’t hold the timber securely as water from condensation can get between the glass and the timber on the inside.
- Painting the bare timber will ensure that if water does get behind or anywhere around the new section the timber can’t suck up the moisture.
- Having bedded the new timber section with linseed putty which acts as a gasket not a glue to prohibit water ingress, the paint stops the timber from sucking the linseed oil from the putty which in turn would dry it out.
You will also notice that I have used oak dowels to secure the new section in place. Why did I not use screws or nails?
Well, the reasons are:
- The timber is oak and full of tannic acid which destroys any steel fixings, brass is too soft to provide any pressure, and stainless steel nails and screws are very soft too. This means if the timber wanted to move the fixings could “let go” over the long term.
- A dowel such as I used is not going to react with itself. And the wedges used at the ends spread the dowels providing a mechanism in which to hold the section securely.
- The dowel joint such as I used is very strong and was the method the original builders of these windows used to secure mortise & tennon joints.
Also in the photos you will notice that I rebated or put a step in the area left. This was to provide a means to stop any chance of water penetrating under the new section and making its way around the back of it. It’s basically to cover all possibilities.
That it for now folks, I will try and get out more blog posts on a regular basis.
David
